

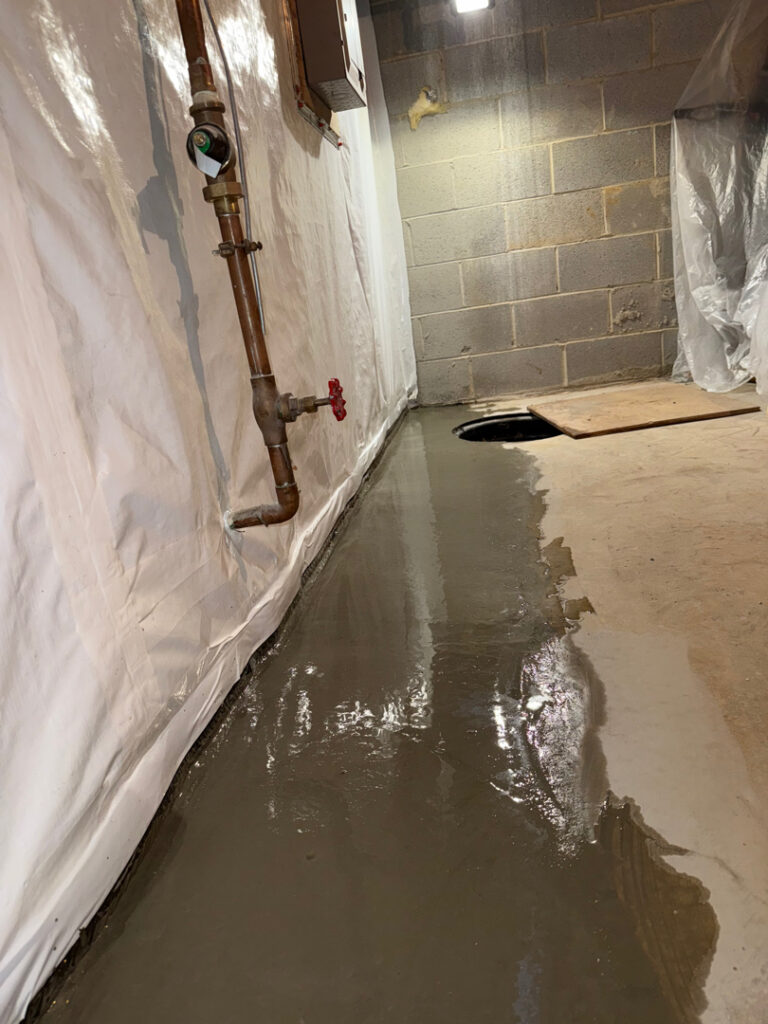
Field photo note — Silver Spring, MD. The images on this page document the same interior drainage installation described in our full Silver Spring case study. This is a closer look at the construction stages, not a second project.
What started the work?
The homeowner’s original request described water around the basement foundation walls. The work area was a concrete-block utility space. That complaint identifies where the water was seen; it does not, by itself, establish one exclusive entry point or a measured groundwater level.
How was the interior drain built?
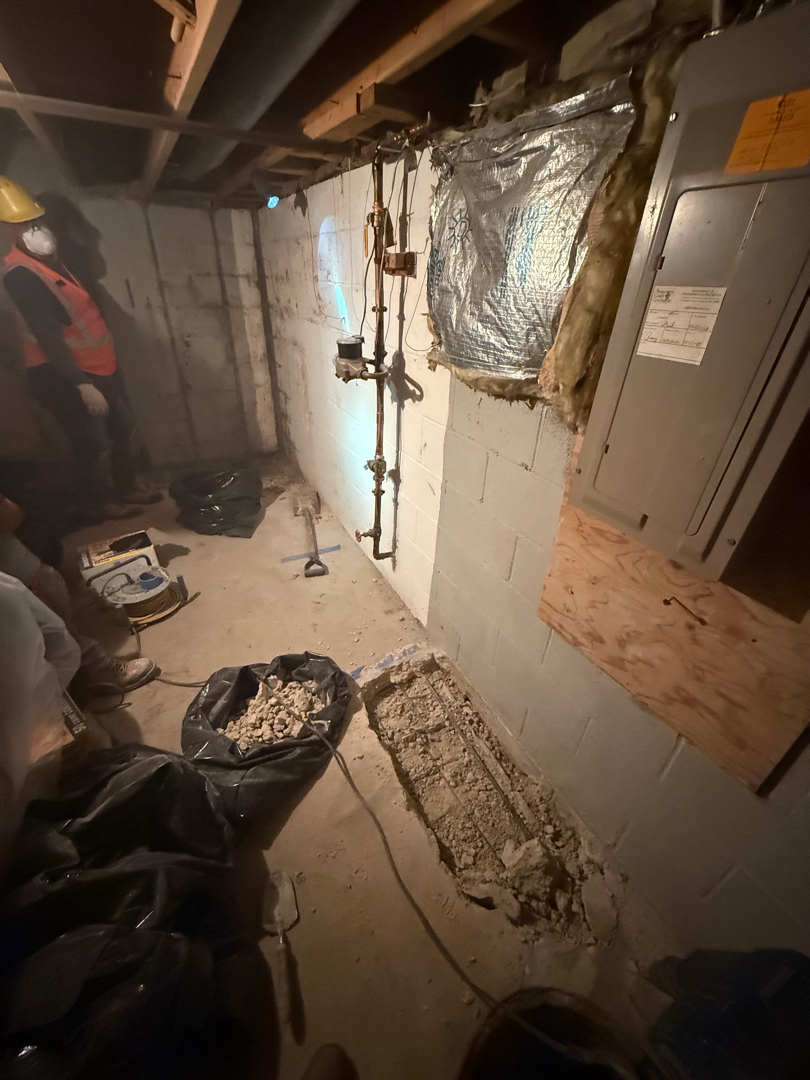
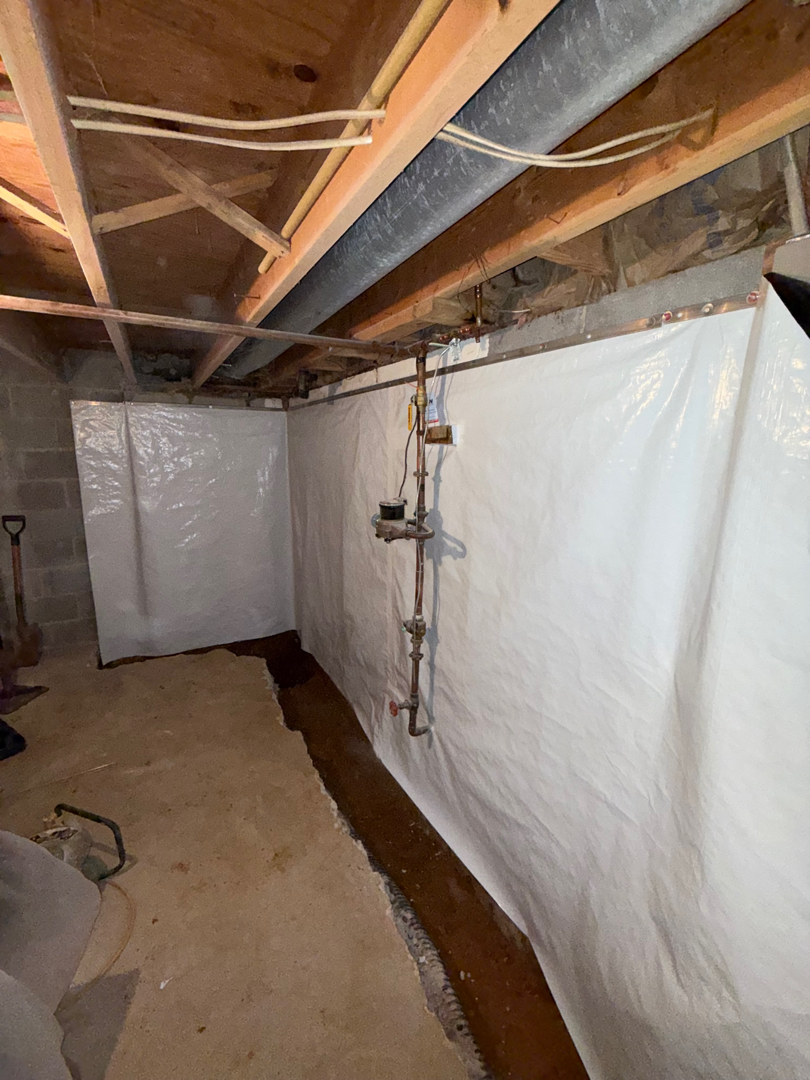
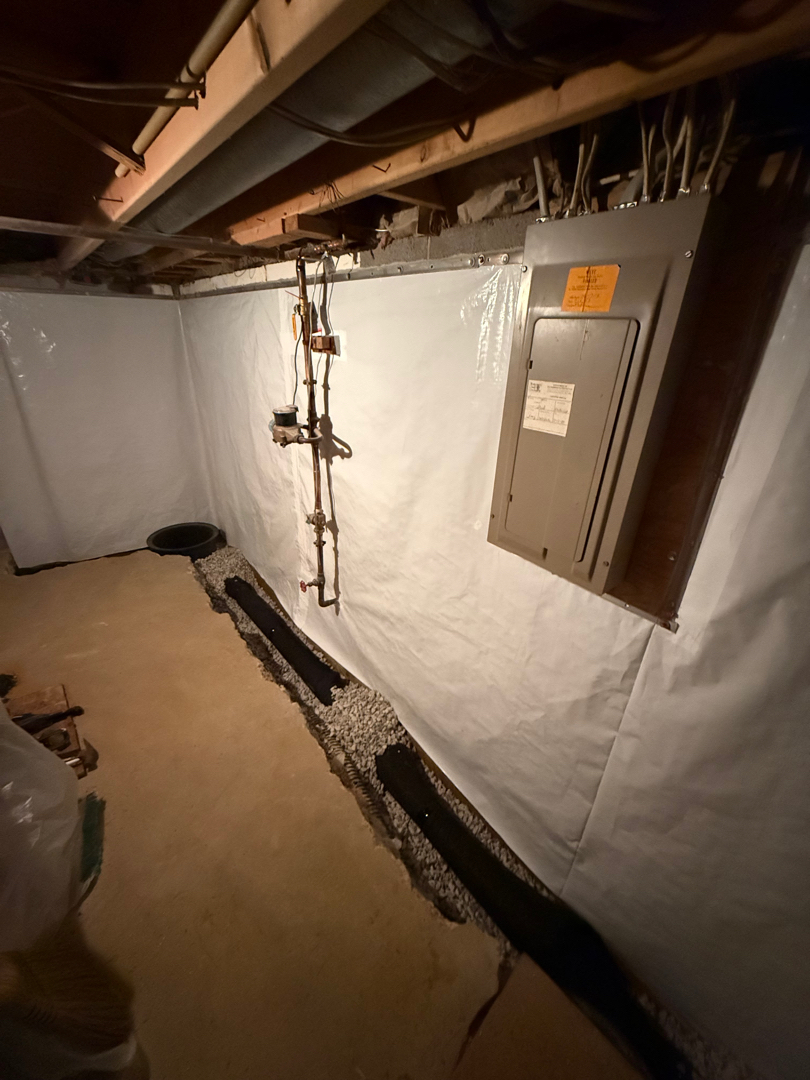
The documented scope included an interior footing-side collection drain, drainage stone, a wall liner and drain board, a sump system and discharge line. A separate buried downspout addressed roof runoff outside. The construction photos below show the sequence inside the basement; they do not show the buried exterior line or prove the room’s condition after later storms.
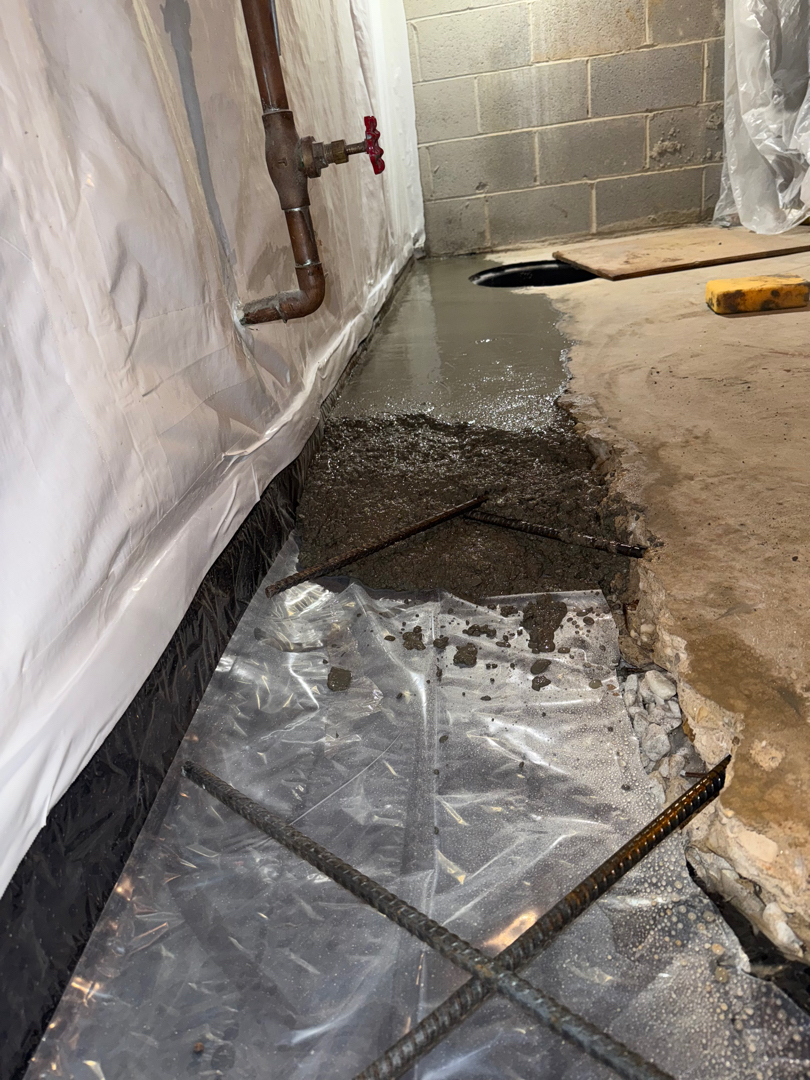
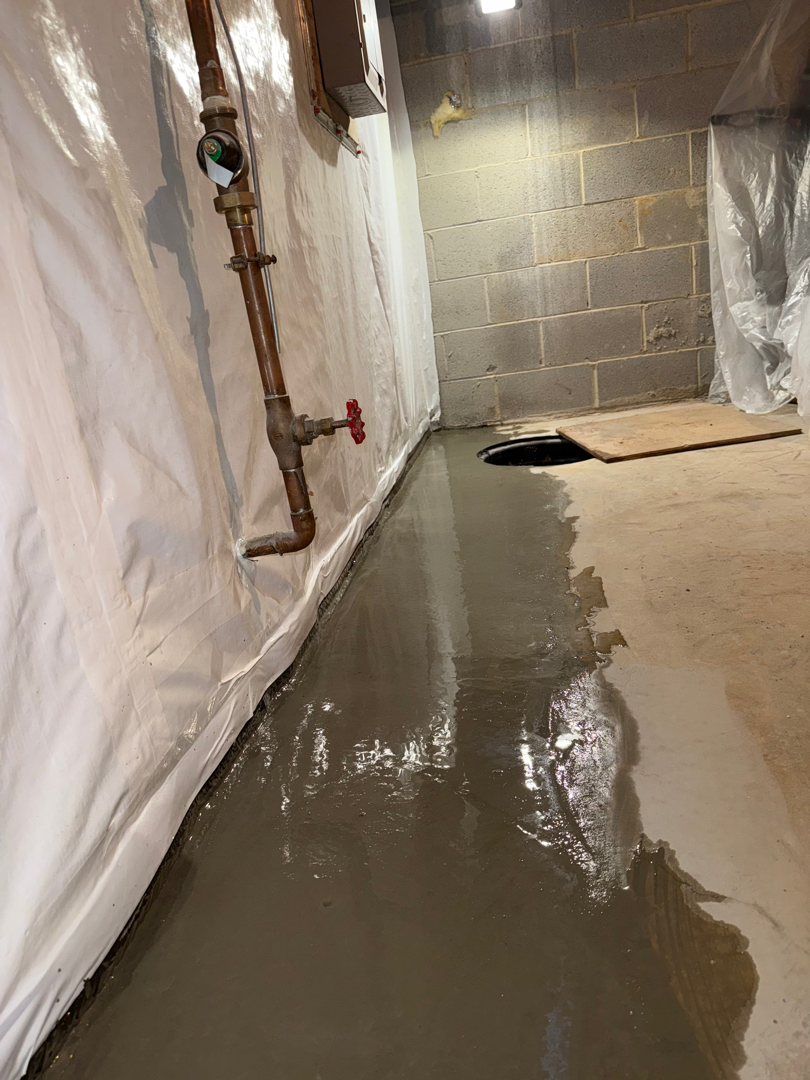
What do the photos establish?
They document an opened floor strip, wall liner, drainage materials, reinforcement and fresh concrete. The job record identifies the sump and a separate buried downspout as part of the completed scope. The available images do not verify a mold-clearance result, a fully refinished room or post-storm dryness. Read the full case study for the original complaint and the distinction between the interior drain, sump discharge and downspout.
Questions homeowners ask
Is the buried downspout the same as the interior French drain?
No. The downspout moves roof runoff away outside. The perforated interior line collects water at the lower basement perimeter and directs it toward the sump.
Does fresh concrete prove a basement stayed dry after rain?
No. It shows the slab-restoration stage. A later rain-performance claim needs a separate follow-up record.
If you see water along your Silver Spring basement walls, book an inspection so the water path and appropriate repair can be assessed on site.