

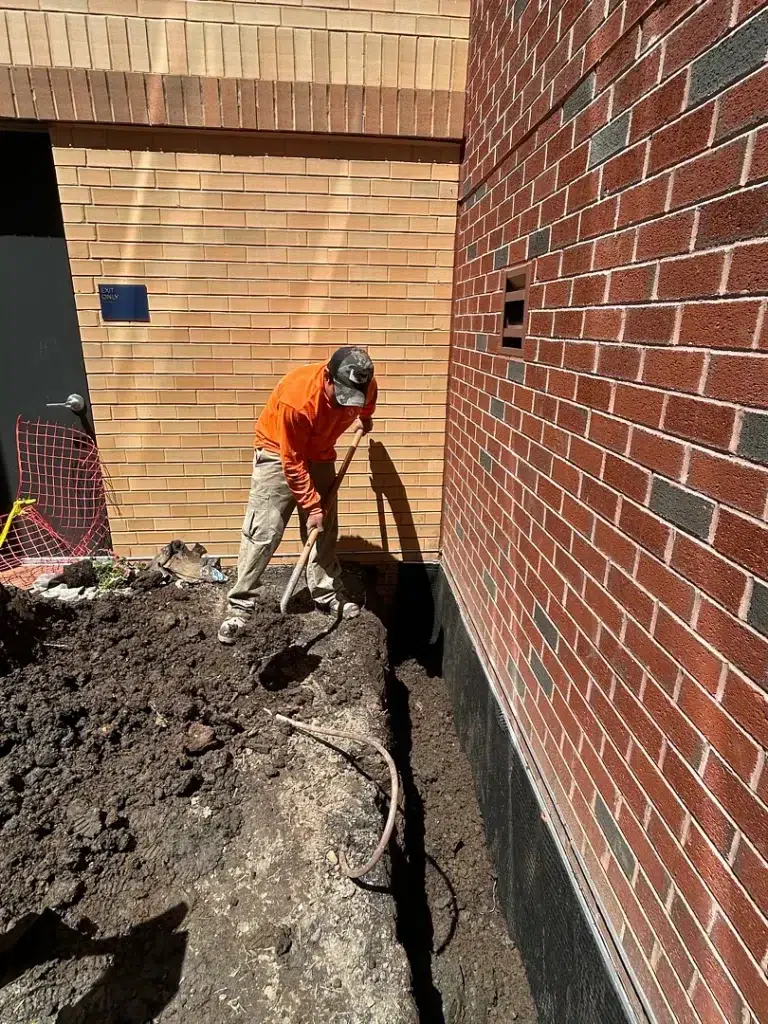
At this Bethesda, Maryland brick building, the completed exterior waterproofing scope called for more than a shallow surface-water trench. The crew opened approximately 27 linear feet along the foundation down to the footing, so the wall-to-footing joint, buried wall face, and drainage level could be treated together. The construction photos show the depth of the excavation and the wall and drain components before backfill.
Opening the wall to the cold joint
The wall-to-footing connection is a critical detail because it sits where the foundation wall and footing meet. Reaching it required a full-depth excavation beside the brick exterior, not a trench near finished grade. The work scope called for cleaning the exposed wall, removing loose material, routing and sealing visible cracks with polymer-modified mortar, and repairing the cold-joint area before the waterproofing layers went on.
Waterproofing the wall, then protecting it
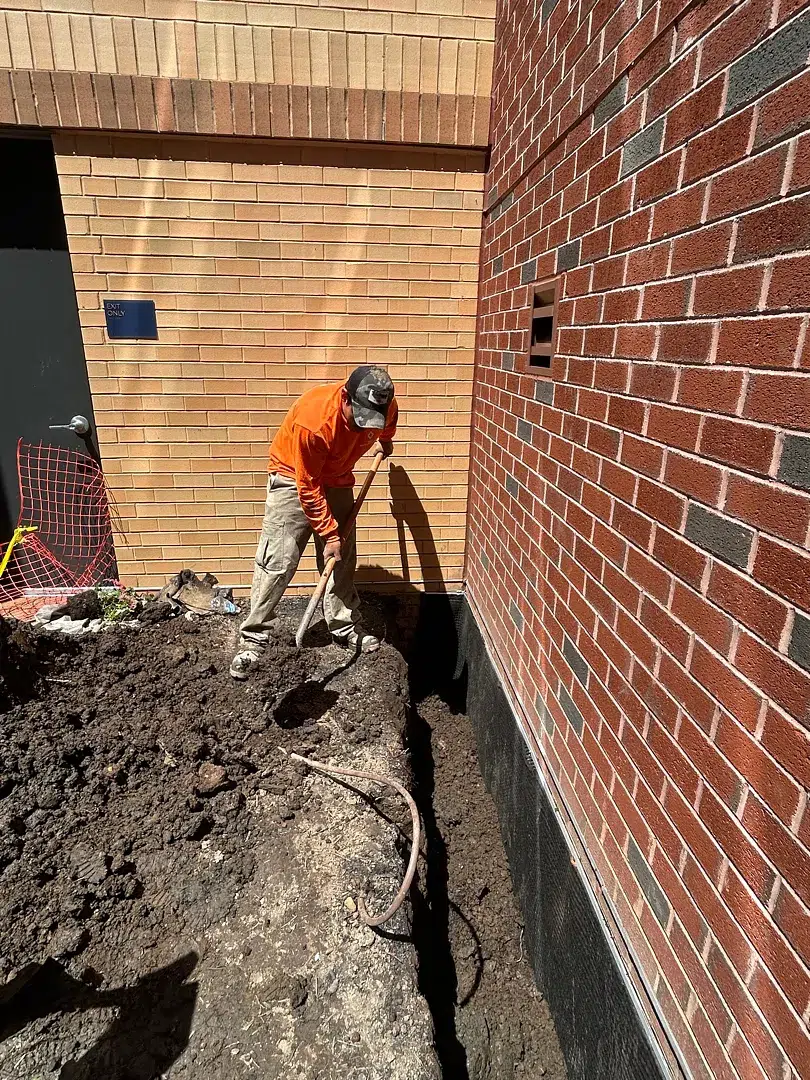
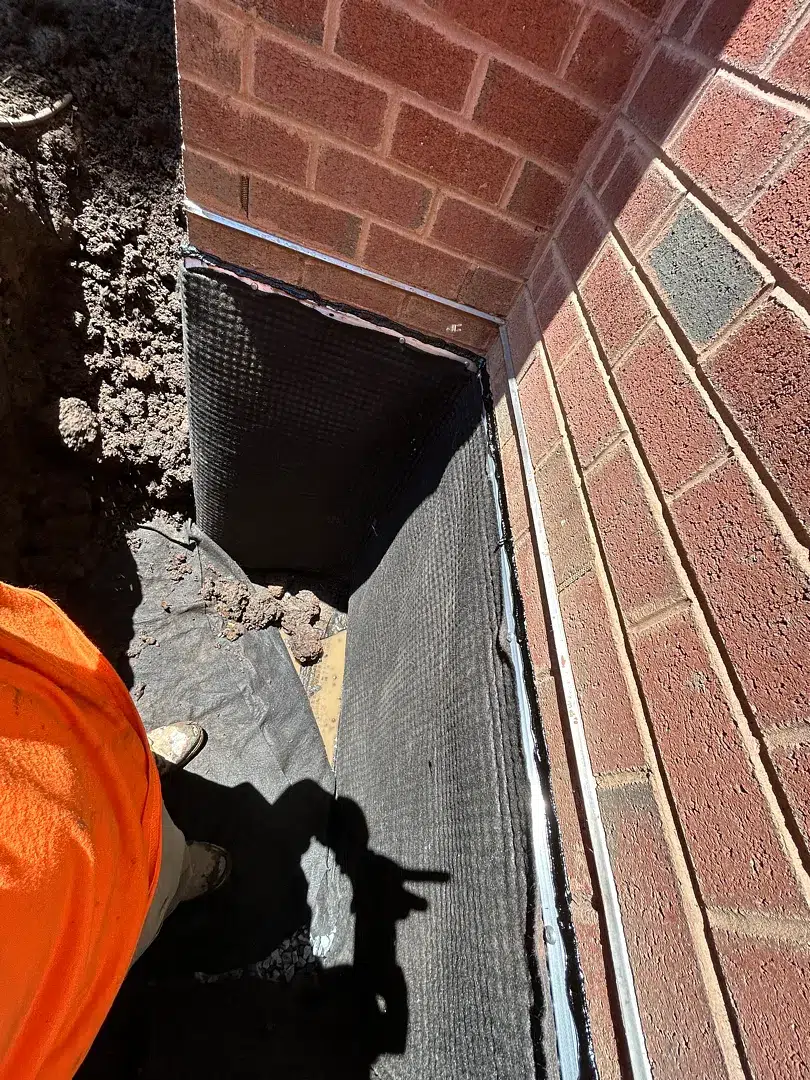
After surface preparation and repairs, the crew applied a cementitious waterproofing layer to the exposed foundation. A compatible primer and self-adhering sheet membrane followed, with overlapping seams and a secured top edge. These are separate steps: preparing and repairing the substrate helps the later membrane adhere, while the membrane forms the continuous exterior barrier.
Over the waterproofed wall, the scope specified a dimpled drain board. In this system its job is to protect the membrane and provide a vertical path for water to move toward the footing drain below. The job photos show the textured board and its termination detail against the wall.
The pipe belongs at the footing in this case
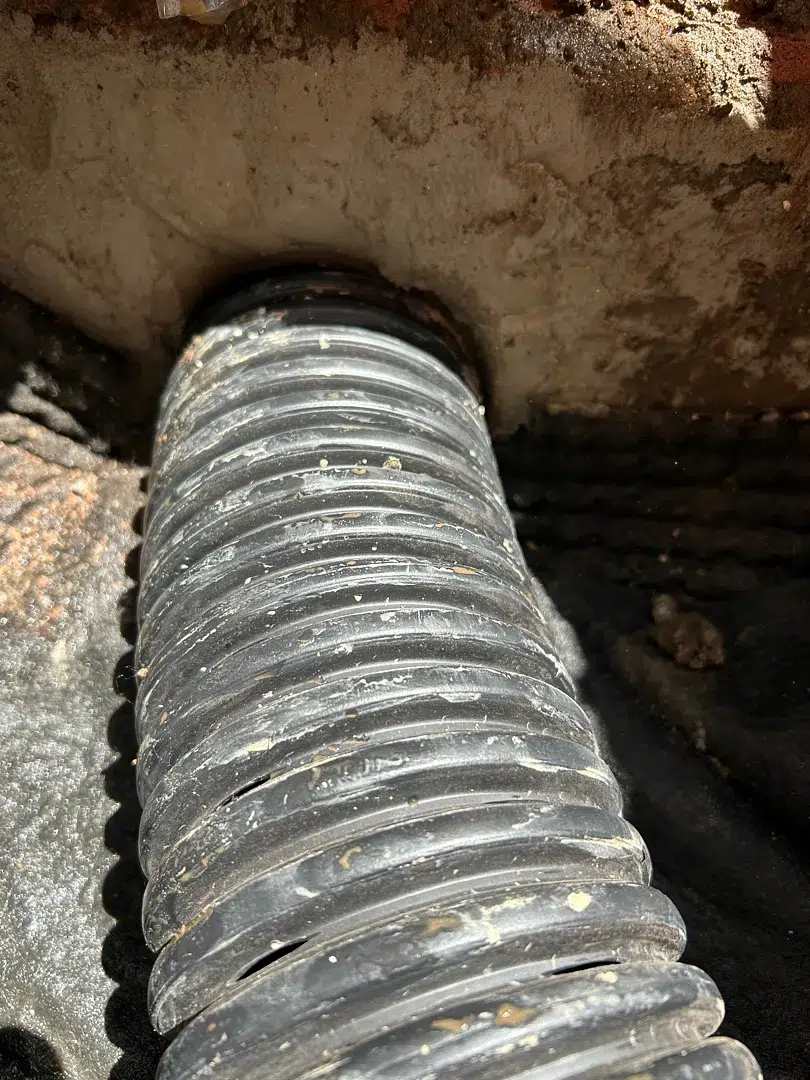
The work order explicitly identifies a footing drain tile: a perforated pipe set beside the footing on a sloped gravel bed, surrounded by clean stone and separated from soil with non-woven geotextile. The close-up construction photo documents the perforated pipe; other photos show the gravel and fabric at the bottom of the deep trench. The downstream discharge location is not shown in the published photos, so it is not assigned here.
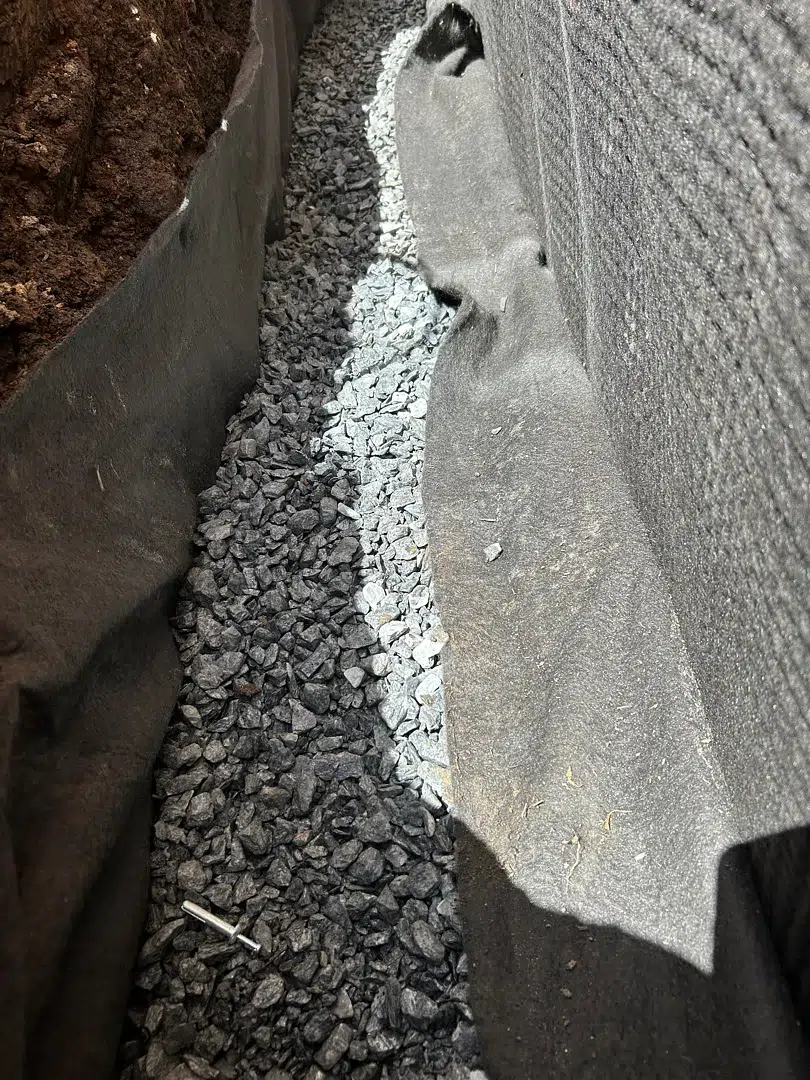
Once the wall and drainage components were installed, the work scope called for backfill in controlled, compacted layers. That step matters because the soil placed against a newly waterproofed wall must be stable without damaging the system.
Questions this Bethesda project helps answer
How is a footing drain different from a near-grade exterior French drain?
The difference is the pipe elevation and the water path it serves. A footing drain sits low beside the footing after full-depth excavation. A near-grade grading tile collects approaching surface water much higher in the backfill. This Bethesda scope specifies the first system, and its deep excavation and drain-board photos match that design.
Why put drain board above a footing drain?
The board protects the exterior membrane during backfill and creates a drainage space down the wall. In a footing-drain system, that vertical path leads water toward the gravel-and-pipe zone at the bottom rather than leaving it against the wall.
Is the pipe a substitute for wall waterproofing?
No. The repaired cold joint, cementitious layer, primed sheet membrane, drain board, and footing-level pipe address different parts of the same water-control problem. The right combination depends on the actual foundation and where water is entering or collecting. If your property has a similar issue, schedule an inspection before choosing an interior or exterior system.