We’ve all been there—opening that creaky access panel to your home’s underbelly, flashlight in hand, only to be greeted by a damp chill or an unsettling musty odor. That hidden area beneath your floors might feel like a forgotten corner, but what happens there directly impacts your family’s health and your property’s value. Ignoring it? That’s like leaving your front door open during a storm.
Many Ashburn homeowners don’t realize how quickly minor humidity issues can spiral. One day it’s condensation on pipes; the next, it’s warped floor joists or compromised air quality. These zones are tough to access and easy to neglect—until the problem literally rises through your floors.
Our guide isn’t just about fixing what’s broken. It’s about preventing disasters before they start. We’ll show you how proper care protects your foundation, keeps energy bills predictable, and stops mold spores from invading your living areas. Because your house deserves more than quick fixes—it needs lasting solutions.
Whether you’re tackling this alone or need expert help, we’re here 24/7. Just call +1-833-888-2533. Let’s turn that anxiety-inducing space into something you can confidently forget about… until next inspection!
Key Takeaways
- Under-home areas significantly affect structural stability and indoor air quality
- Early intervention prevents costly repairs and health risks
- Professional techniques ensure long-term protection for your property
- Proper management reduces energy waste and utility expenses
- Recognize warning signs like persistent odors or uneven floors
Understanding the Unique Challenges of Crawl Spaces
Many homeowners underestimate how a cramped, shadowy area beneath their house can trigger major headaches. These zones combine tight quarters with constant exposure to environmental shifts—a recipe for trouble if left unchecked.
Why Humidity Lingers
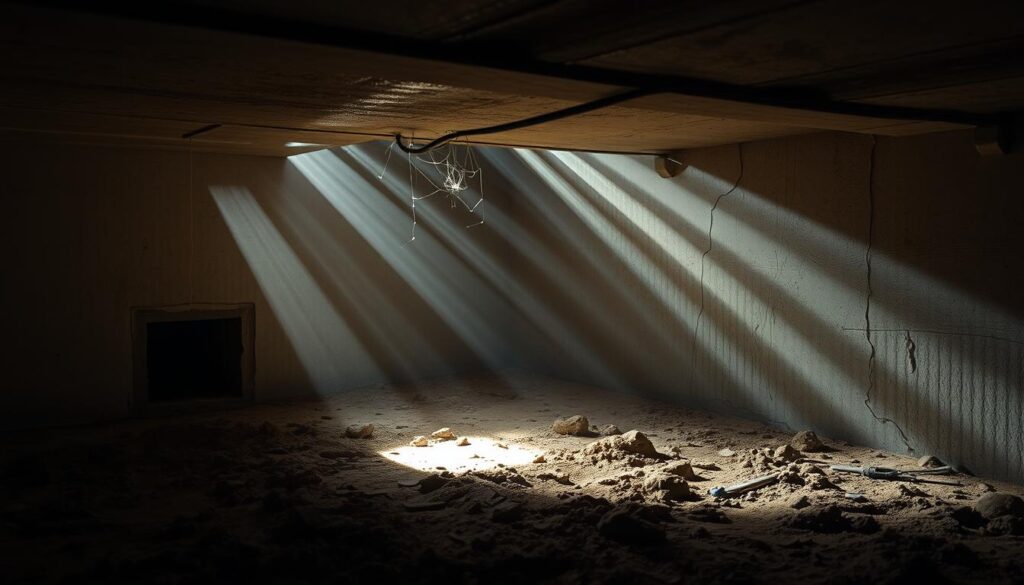
Crawl spaces trap air like sealed containers. Limited height prevents proper airflow, while dark corners hide dampness. “You’re essentially creating a petri dish for problems,” notes a local contractor. Summer heat turns trapped vapor into condensation, while spring rains push groundwater through tiny foundation cracks.
When Water Strikes
Persistent dampness doesn’t just warp wood—it invites rot and termites. We’ve seen floor joists crumble like stale bread after years of unnoticed leaks. Mold spores hitch rides on air currents, drifting into living areas and triggering allergies.
Seasons Shift, Risks Grow
Ashburn’s weather plays roulette with your foundation. Winter freezes contract soil, opening new pathways for spring runoff. Summer storms test drainage systems, and failed gutters become waterfalls aimed at your home’s weakest points. Even minor plumbing drips can flood these confined areas within hours.
Moisture Control in Crawl Spaces: Strategies for Success
Effective management of under-home environments requires precision. Unlike open basements, these confined areas demand targeted approaches to prevent trapped dampness from compromising your home’s bones. Let’s break down the science behind lasting solutions.
Key Concepts and Techniques for Effective Drying
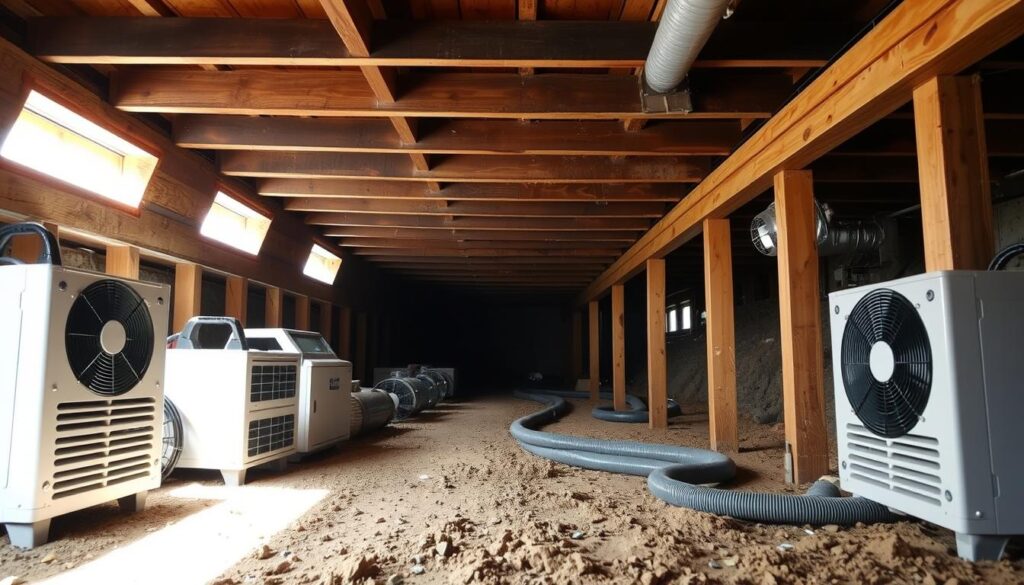
Structural materials—not soil—should be your priority. When evaporation from damp earth outpaces dehumidifier capacity, moisture migrates upward into wood beams. Our team uses industrial-grade air movers to create strategic circulation patterns. “It’s like directing traffic,” explains a veteran technician. “Airflow must reach every joist corner without creating new condensation zones.”
Three critical factors determine success:
- Equipment placement relative to support beams
- Real-time humidity tracking with wireless sensors
- Adjusting evaporation rates based on material response
Balancing Humidity and Airflow in Tight Spaces
Think of your crawl space as a living ecosystem. Too much air movement dries surface mold but risks spreading spores. Too little lets dampness fester. We’ve found 45-50% relative humidity keeps wood stable while discouraging biological growth.
Specialized techniques make the difference:
- Channeling airflow through corrugated tubes to reach dead zones
- Using desiccant dehumidifiers for low-temperature efficiency
- Sealing soil surfaces temporarily during intensive drying phases
When DIY methods fall short, our thermal imaging scans pinpoint hidden trouble spots. Because sometimes, what you can’t see matters most.
DIY Inspection and Preparation for Your Crawl Space
Before rolling up your sleeves, approach your under-home area like a detective solving a mystery. What seems like minor quirks could signal deeper issues. We’ll help you spot red flags and gather the right gear to tackle them safely.
Assessing Structural Integrity and Risk Factors
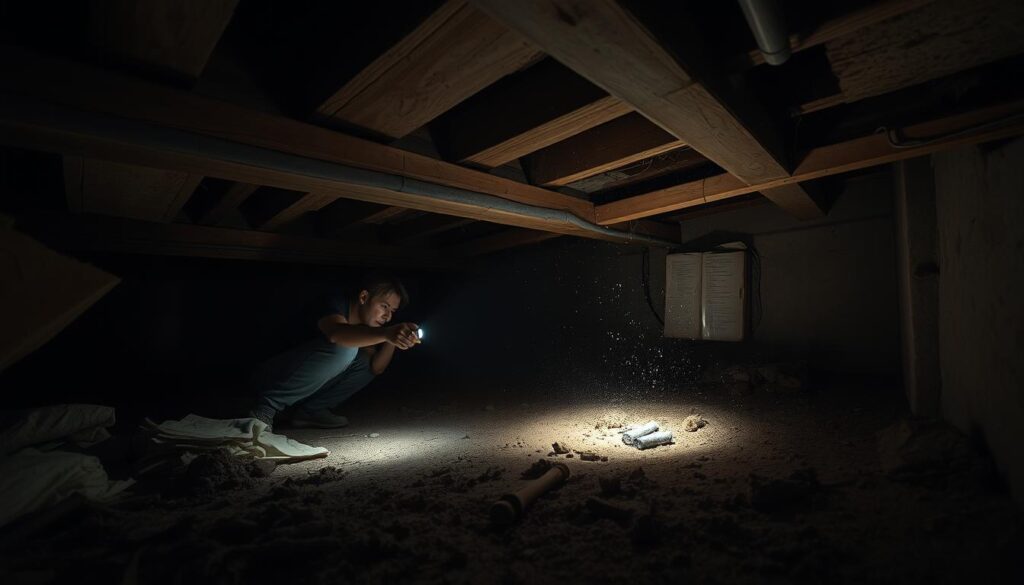
Start with a flashlight and knee pads. Check for sagging beams, cracked piers, or soft spots in subflooring. “One warped joist can domino into floorboard gaps upstairs,” warns a Virginia home inspector. Look for pest droppings or rust-colored stains—signs of termites or rot.
Map affected zones with painter’s tape. If only 30% of the area shows damage, containment barriers prevent cross-contamination. Use thick plastic sheeting and zip walls to isolate problem spots. This focuses your efforts and protects unaffected materials.
Essential Tools and Safety Precautions
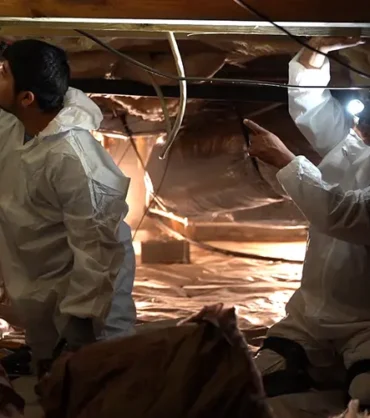
Gear up like a pro: N95 masks block mold spores, while cut-resistant gloves handle sharp debris. A headlamp keeps hands free, and a moisture meter reveals hidden dampness. For electrical needs, heavy-duty extension cords (max 25 feet) prevent voltage drops. Plug devices into separate circuits to avoid tripping breakers.
Remember: What you wear matters as much as what you fix. We’ve seen homeowners skip respirators only to develop sinus infections days later. Your safety kit should mirror ours—because your health isn’t negotiable.
When in doubt, snap photos and text them to our team at +1-833-888-2533. Sometimes a second pair of eyes spots what you’ve missed. Preparation today saves costly surprises tomorrow.
Installing and Maintaining an Effective Vapor Barrier
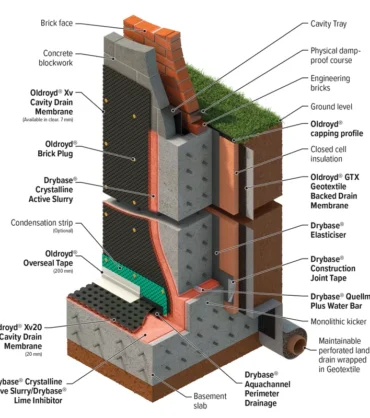
Picture your home’s foundation as a sandwich—without proper wrapping, the fillings turn soggy. That’s exactly what happens when soil vapor meets unprotected structural beams. A well-installed vapor barrier acts like premium plastic wrap, keeping your home’s “ingredients” dry and stable for decades.
Selecting the Right Materials for Long-Term Protection
Not all plastics are created equal. We’ve seen flimsy 4-mil sheets tear like tissue paper within months. For Ashburn’s clay-rich soil, opt for reinforced 10+ mil barriers with UV resistance. These handle shifting earth and accidental tool drops without compromising coverage.
| Material Thickness | Best Use Case | Expected Lifespan |
|---|---|---|
| 6 mil | Temporary fixes | 1-3 years |
| 10 mil | Residential standard | 10+ years |
| 20 mil | Commercial/heavy use | 25+ years |
Step-by-Step Guide to Proper Installation
Start by clearing debris—even small rocks become puncture hazards. Roll out sheets horizontally, overlapping seams 12+ inches. Seal joints with butyl tape, not duct tape. “The adhesive needs to outlive your mortgage,” says our lead installer. Extend material 6 inches up walls and secure with corrosion-resistant fasteners.
Avoid these common errors:
- Stapling instead of taping seams
- Leaving gaps near support columns
- Using clear plastic (promotes algae growth)
Inspect barriers annually after heavy rains. Look for pooling water—it signals needed adjustments. When tears appear, patch immediately with matching material. Remember: A $200 barrier today prevents $5,000 foundation repairs tomorrow.
Optimizing Ventilation and Dehumidification Solutions
Balancing airflow and humidity beneath your home isn’t guesswork—it’s science. Strategic equipment choices and seasonal adjustments create a dry, stable environment that protects your foundation year-round.
Proper Use and Adjustment of Crawl Space Vents
Vents act as your home’s breathing system. Open them during summer to let fresh air circulate naturally. But when running a dehumidifier, seal them tighter than a submarine hatch. Outdoor humidity will sabotage your equipment’s efficiency otherwise.
Winter demands different tactics. Closed vents prevent frozen pipes while maintaining warmer temperatures. Our team installs automatic vent covers that adjust with temperature swings—no ladder required.
Choosing the Right Dehumidifier for Your Space
Size matters more than you think. A unit too small runs constantly, while an oversized model short-cycles. Measure your square footage and match it to pints-per-day capacity. Here’s a quick guide:
| Space Size | Minimum Capacity | Ideal For |
|---|---|---|
| 500 sq ft | 30 pints | Small areas |
| 1,000 sq ft | 50 pints | Standard homes |
| 1,500+ sq ft | 70 pints | Large/damp zones |
Position fans to push dry air toward wooden beams. We prefer industrial-grade air movers that cover 45-degree angles. Pair them with wireless humidity sensors for real-time adjustments. Remember: Proper setup today means fewer repairs tomorrow.
Our Support and Resources for Homeowners
Your home’s hidden areas deserve expert care – and so do you. Whether dealing with tricky access points or unexpected issues, we’ve got your back across five convenient locations. Our team understands every crawl space door tells a story, from exterior entries doubling as ventilation points to carefully crafted interior openings.
Always Available When You Need Us
Emergencies don’t wait for business hours. That’s why our call center lights stay on 24/7 at +1-833-888-2533. Last month, we helped a family in Ashburn secure their space door during a sudden storm – preventing water damage in under 90 minutes. That’s the peace of mind we deliver.
Local Expertise You Can Trust
With bases from DC to Virginia, we’re never far away. Our Ashburn team at 44121 Leesburg Pike knows local soil patterns affecting home foundations. Rockville technicians helped redesign a store‘s loading dock access last spring. Wherever you are, we bring solutions measured to your exact feet of space.
Protect what’s above by caring for what’s below. Drop by our Washington office at 2315 Wisconsin Ave NW or email info@dmvwp.com. Let’s keep your foundation – and future – rock solid.
FAQ
Why do crawl spaces in Ashburn struggle with humidity?
Our area’s clay-rich soil traps water, and seasonal shifts create condensation. Poor airflow in tight spaces lets dampness build up, leading to musty odors or mold growth.
How does excess dampness affect my home’s structure?
Wood rot, warped beams, and corroded pipes become risks. Over time, this weakens foundations and invites pests like termites that thrive in damp environments.
Can I handle inspections myself, and what tools do I need?
Yes! Grab a flashlight, moisture meter, and protective gear. Check for pooling water, cracks, or sagging insulation. Always wear gloves and a respirator for safety.
What type of vapor barrier works best here?
We recommend thick, puncture-resistant polyethylene (20 mil+) with sealed seams. Brands like Stego Industries offer durable options tailored to Virginia’s climate.
Should I keep crawl space vents open or closed?
It depends! Open vents during dry spells for airflow. Close them in humid summers or rainy seasons to block outside dampness from sneaking in.
Which dehumidifier suits a 1,000 sq ft crawl space?
Look for ENERGY STAR® models like AprilAire 1830 or Santa Fe Ultra. Aim for 50-70 pints/day capacity and built-in pumps for automatic drainage.
Do you service homes outside Ashburn?
A> Absolutely! We cover Washington, DC; Rockville, MD; North Bethesda, MD; Manassas, VA; and Ashburn, VA. Call our 24/7 line for same-day assessments.

![[GetPaidStock.com]-680786795b816 [GetPaidStock.com]-680786795b816](https://dmvwp.com/wp-content/uploads/2025/04/GetPaidStock.com-680786795b816-370x418.jpg)
![[GetPaidStock.com]-682c400c87c15 [GetPaidStock.com]-682c400c87c15](https://dmvwp.com/wp-content/uploads/2025/04/GetPaidStock.com-682c400c87c15-370x418.jpg)
![[GetPaidStock.com]-682c413fa898e [GetPaidStock.com]-682c413fa898e](https://dmvwp.com/wp-content/uploads/2025/03/GetPaidStock.com-682c413fa898e-370x418.jpg)